

This DIY was created by Razloga
Ingredients:
• Tail Lights- preferably ones that fit your car, and I urge that you have an extra set for “just in case”
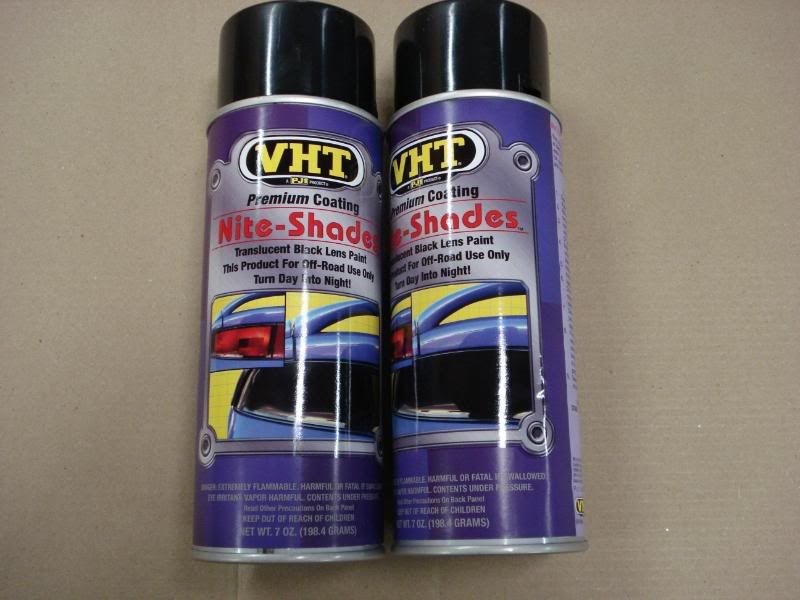
• NiteShades- Made by VHT (Can be found in most autozones, napas, etc. ask for it if you can’t find it, they should be able to order it)
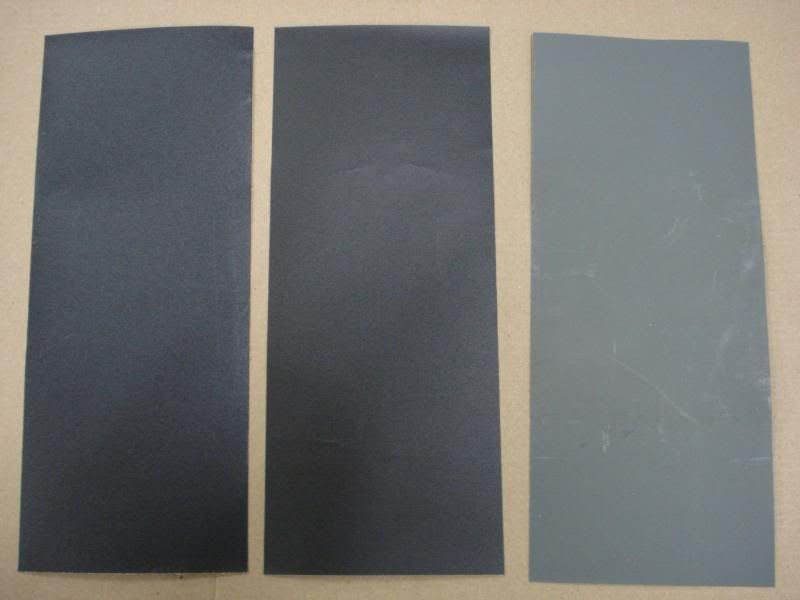
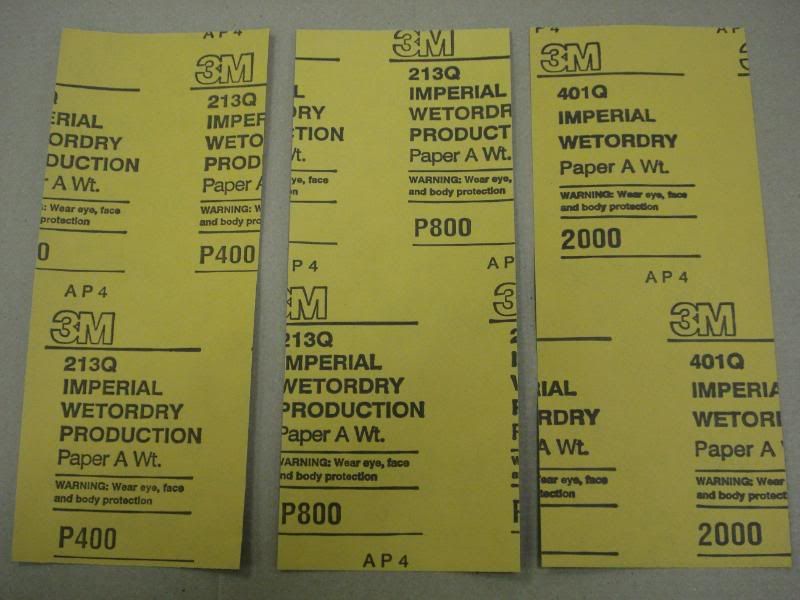
• Sand Paper- 400/ 800 grit & 2000 grit (400 will hopefully not be used, it is a little coarse but works well for very stubborn area’s)
• Sanding block- For the sand paper
• Alcohol- not the drinking kind, the rubbing kind
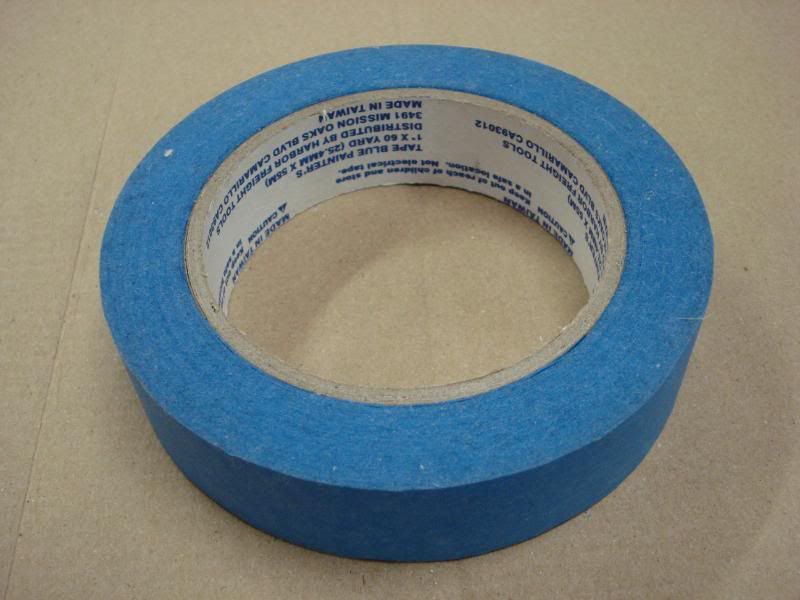
• Painter’s Tape- a.k.a. masking tape (the blue one, it doesn’t have as much adhesion)
• Paper Towels
• Phillips Screw Driver
• Microfiber Cloth
• Wax- Turtle “Ice Wax” is beautiful
• Sharpie- I’ll explain…
• Xacto Knife/ Small Box Cutter
• Flash light- Small Pocket one works fine
• Painting booth/ area- someplace that will NOT be disturbed while painting- the greatest enemies to paint is dust and lack of preparation
• Time- no point in doing this quick if you want them to look good
1. So then, the first step is to get all of the stuff I mentioned.
2. The tails- if you want to use the ones off of your car, that’s fine, but you will have down time (you have been warned).
3. Sanding time- because you are working with plastic, wet sanding is much more preferred then dry. USE A SANDING BLOCK!! They only cost like a buck but it will be easier on the hands and you will get a more even and smooth sanding and it will take a little longer…
• Patience- This WILL take some work, don’t try this and give up, and DON’T try to save time by using a sander/ coarser sand paper- you’ll just end up creating more work later…
• DO NOT ATTEMPT ANY DIY WITHOUT FORST READING THROUGH IT ALL AND HAVING ALL SUPPLIES READY!!!!
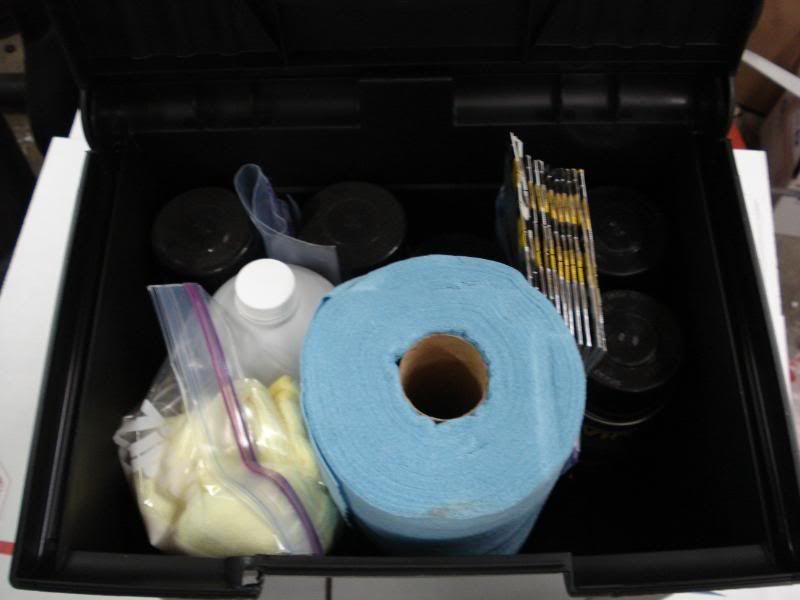
Picture of my “Tool Box”
![Image]()
Nite Shades By VHT
![Image]()
Sand Paper
![Image]()
![Image]()
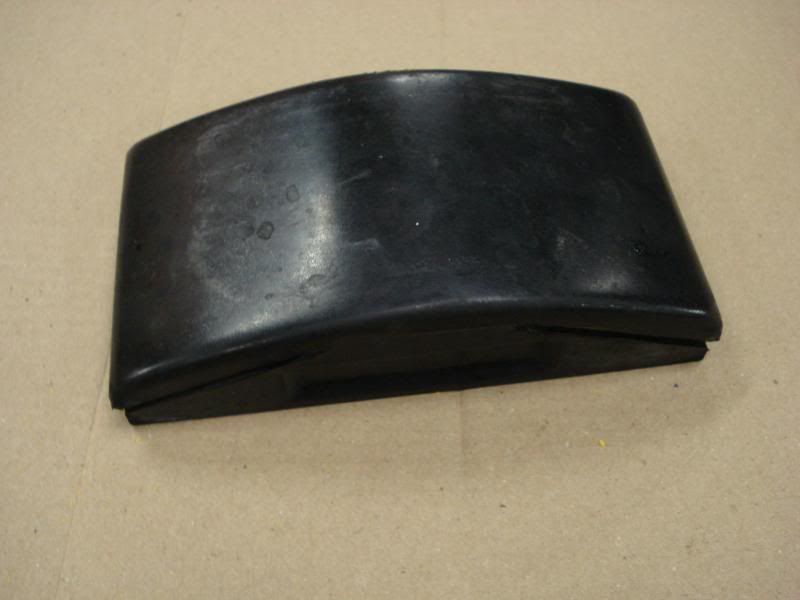
Sanding Block
![Image]()
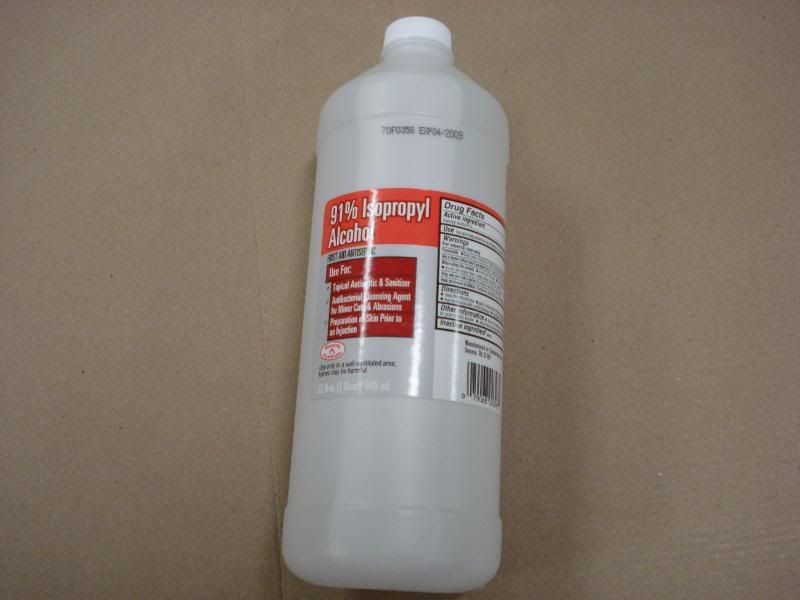
Rubbing Alcohol
![Image]()
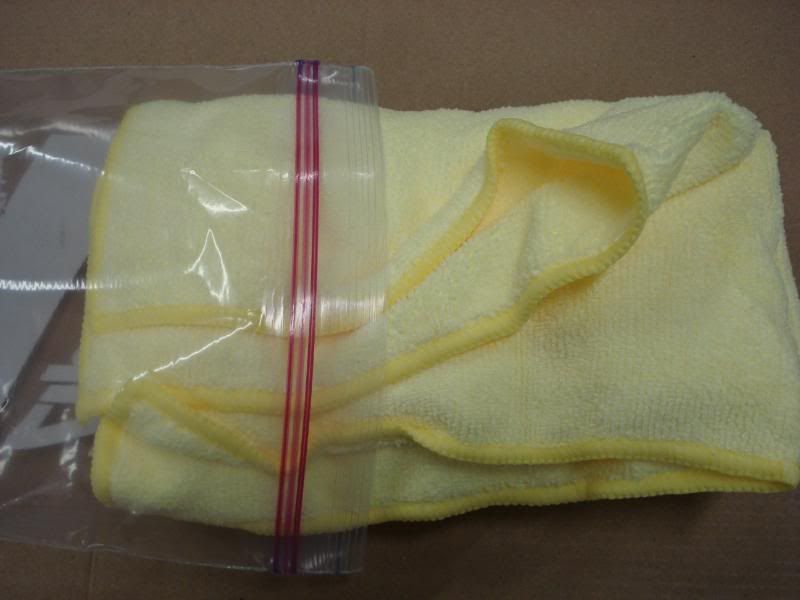
Microfiber Cloth
![Image]()
Blue Painter’s Tape
![Image]()
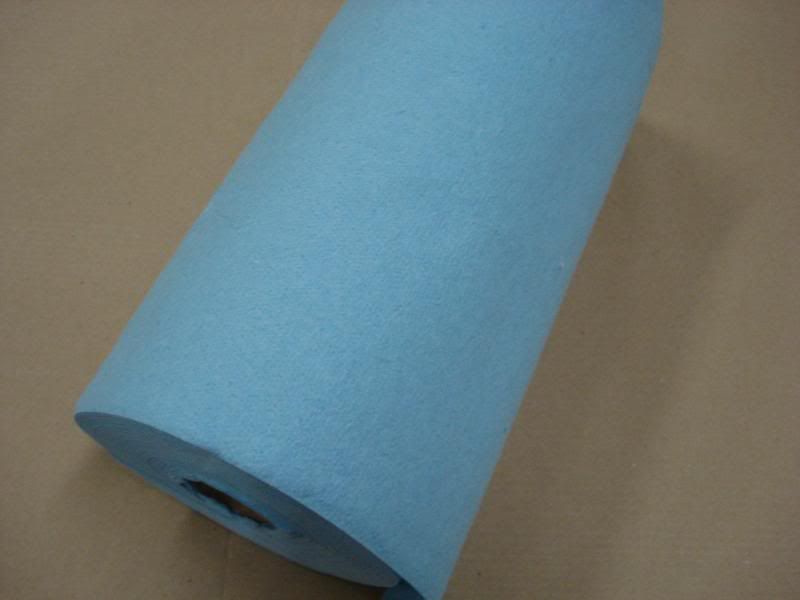
Paper Towels (blue ones don’t come apart as much as the white ones)
![Image]()
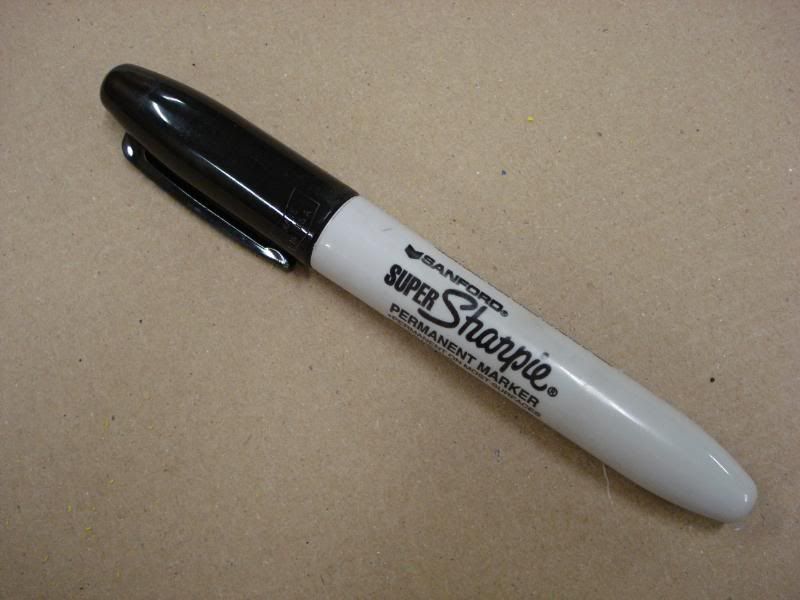
Sharpie
![Image]()
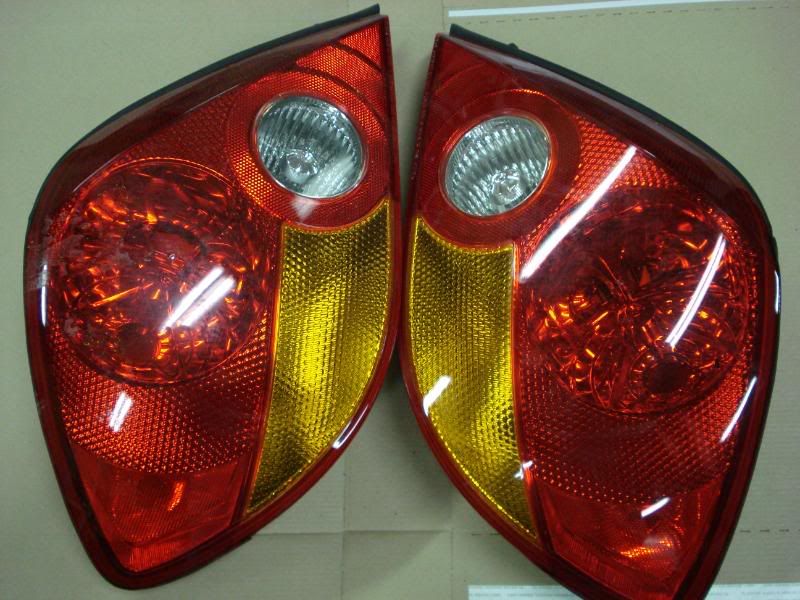
Tails
![Image]()
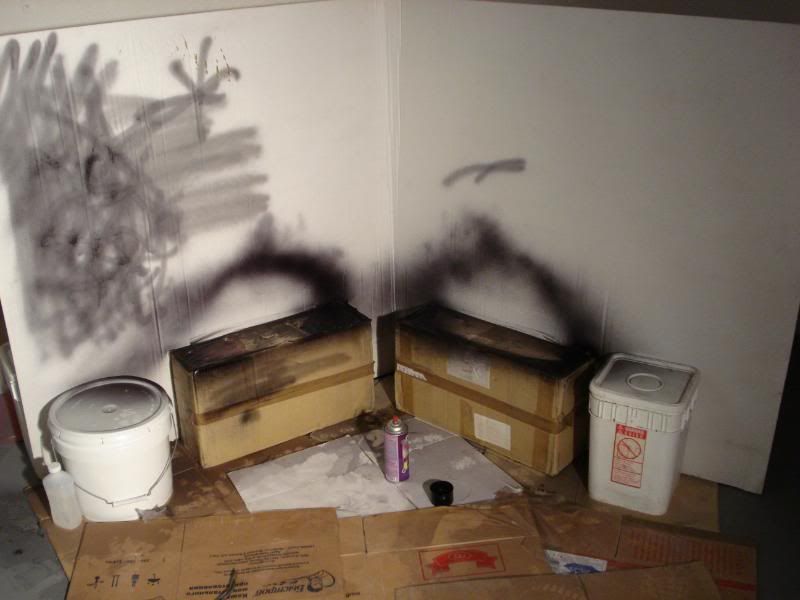
Painting Area
![Image]()
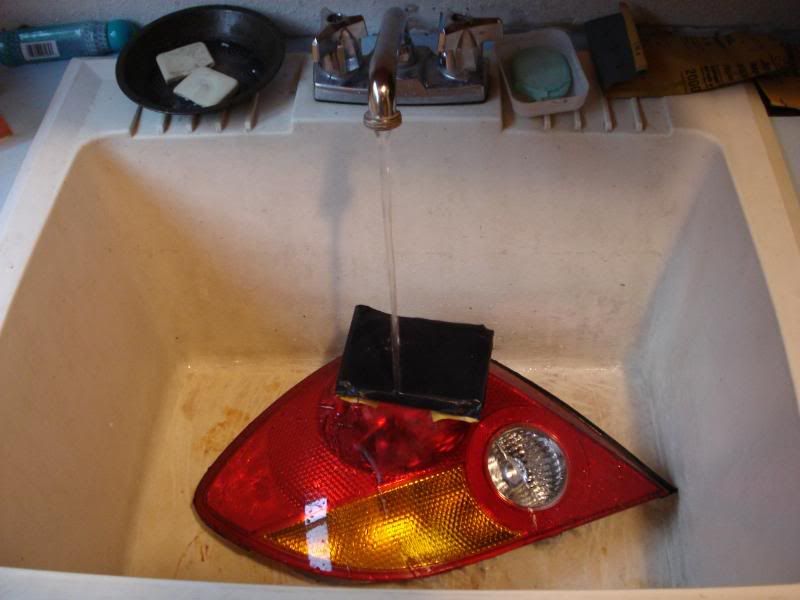
The first step is to use 800 grit sand paper and a block with some water… You will want to sand just enough to scuff up the surface of the tails, the “Clear coat” on them is very thin and 800 will take it off easily, pressing hard is not necessary.
![Image]()
Ingredients:
• Tail Lights- preferably ones that fit your car, and I urge that you have an extra set for “just in case”
• NiteShades- Made by VHT (Can be found in most autozones, napas, etc. ask for it if you can’t find it, they should be able to order it)
• Sand Paper- 400/ 800 grit & 2000 grit (400 will hopefully not be used, it is a little coarse but works well for very stubborn area’s)
• Sanding block- For the sand paper
• Alcohol- not the drinking kind, the rubbing kind
• Painter’s Tape- a.k.a. masking tape (the blue one, it doesn’t have as much adhesion)
• Paper Towels
• Phillips Screw Driver
• Microfiber Cloth
• Wax- Turtle “Ice Wax” is beautiful
• Sharpie- I’ll explain…
• Xacto Knife/ Small Box Cutter
• Flash light- Small Pocket one works fine
• Painting booth/ area- someplace that will NOT be disturbed while painting- the greatest enemies to paint is dust and lack of preparation
• Time- no point in doing this quick if you want them to look good
1. So then, the first step is to get all of the stuff I mentioned.
2. The tails- if you want to use the ones off of your car, that’s fine, but you will have down time (you have been warned).
3. Sanding time- because you are working with plastic, wet sanding is much more preferred then dry. USE A SANDING BLOCK!! They only cost like a buck but it will be easier on the hands and you will get a more even and smooth sanding and it will take a little longer…
• Patience- This WILL take some work, don’t try this and give up, and DON’T try to save time by using a sander/ coarser sand paper- you’ll just end up creating more work later…
• DO NOT ATTEMPT ANY DIY WITHOUT FORST READING THROUGH IT ALL AND HAVING ALL SUPPLIES READY!!!!
Picture of my “Tool Box”
Nite Shades By VHT
Sand Paper
Sanding Block
Rubbing Alcohol
Microfiber Cloth
Blue Painter’s Tape
Paper Towels (blue ones don’t come apart as much as the white ones)
Sharpie
Tails
Painting Area
The first step is to use 800 grit sand paper and a block with some water… You will want to sand just enough to scuff up the surface of the tails, the “Clear coat” on them is very thin and 800 will take it off easily, pressing hard is not necessary.


 ) and any accidental residue from the tape.


