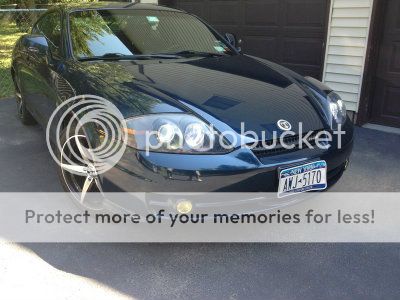
Heres my way on how to install A/E on the 2003-2004 tiburon
![Image]()
Materials:
1.) 2 clear silicones tubes
2.) speaker wire
3.)black electrical tape or tubeing
4.)male and female conectors(optional)
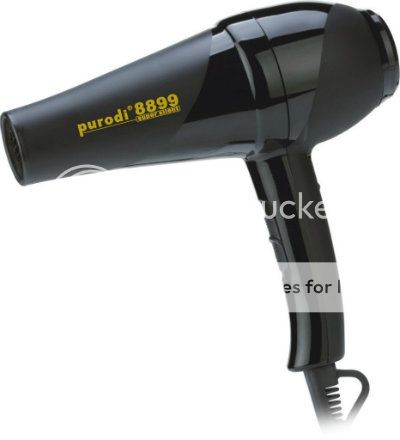
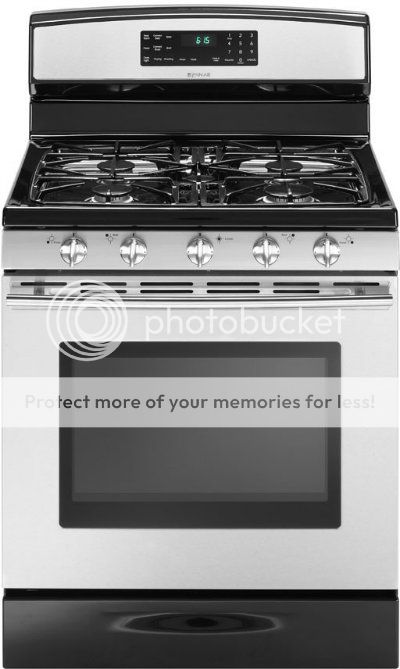
5.) Hair dryer or Oven
6.)Butter knife or flat tip screw driver
7.)philips screw driver
8.) will need 2x80mm and 2x100m Angel eyes
*Assuming the headlamps are taking off the tiburon ( you may proceed to the following step to installing A/E on the 2003-2004 GK Tiburon. if you still havent taken them off and do not know how i have added a video to show you how to take the headlamps out.
http://www.newtiburon.com/forums/showthread.php?t=190951
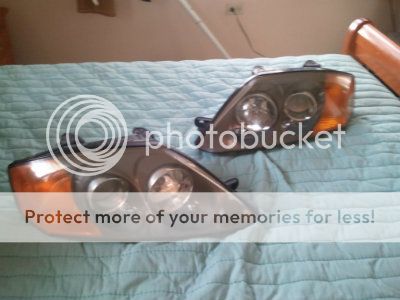
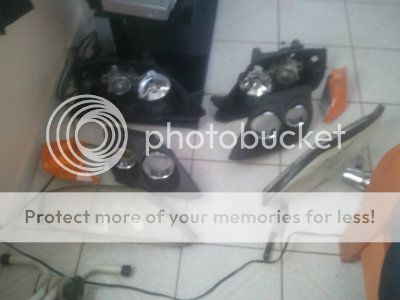
Step 1) There are 2 ways you can open the head lamps. One is putting the headlamps in the oven at 150 degrees for 10-15min and the other one is useing a hair dryer/blower (or a industrial blower).The method I used my girlfiirend Hair blower/dryer to open up the headlamps.First i removed the light Bulbs and next thing i did was take the blower/dryer and heat up all the edges until it got really hot then i stuck a butter knife( a flat tip screw driver will work also) to pry the headlamps open.
![Image]()
![Image]()
Step 2.) once you have both headlamps opened you will see that there should be 2 screws holding the bezel to the lenses, with a philips screw driver unscrew them and they should come right off .Heres a good time to paint them if your wanting to( you dont have to paint if you dont want to).( i dont have a picture wherethe screws are but you can see them on the video that i posted)
![Image]()
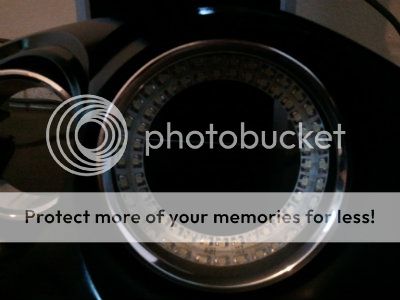
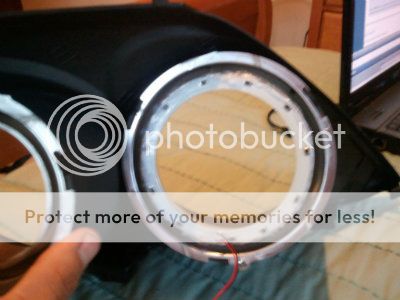
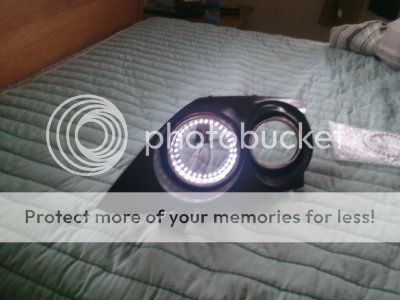
Step 3.)I took the both 80mm and 100 mm Angel eyes and glued them on with clear silicone on the be the back of the chrome circles(i dont know what to call those lol)
![Image]()
![Image]()
![Image]()
![Image]()
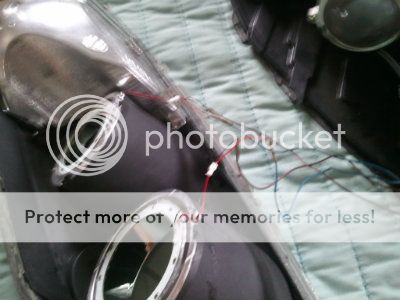
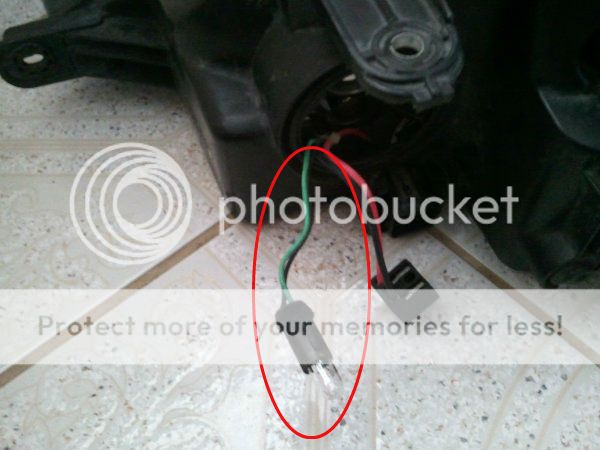
Step 4.) Now heres where you conect the Angel eyes to the city lights. First spot out the city light bulb.(You will see the city light bulb thats located under the high beams ) and follow the it to the harness. It has one black wire(negative -) and one green wire(positive +). Now you will have to take the red wire from the angel eye and splice into the green wire(+) from the city light harness. Next take the black wire (-) from the Angel eyes and splice into the black wire(-) from the city light harness.Now If the wires are to short you may have to add some Speaker wire to make them longer in order to reach the city light harness.
![Image]()
![Image]()
( i had to add more wire in order to reach the city light harness so i used blue for positive and brown wire for negative)
![Image]()
As you can see theres a total of 4 wires....Since i had to add more wire since the Angel eye wire where to short ,wich were blue and brown wires. Please dont get confused remember blue as (+) and brown as (-).......Okay so heres a final summary : you will see 2 blue that i used as positive(+) that i conected to the green city light wire and two brown i used as negative(-) that go connected to the black wired from the city lights
Step 5.) Take the bezels and put them back in place with the lenses and tighten the screws back on . After that Apply the clear silicone all over the edges of the headlamps and close the headlamps and apply force for about 10min.The reason why i said to apply force for about 10 min is so that you wont get any condensation in them,being that the headlamps have been closed properly( not leaving any gaps bettween the housing and the lense)
Step 6.) install the headlamps and your finished") ...........You may now admire your work
...........You may now admire your work
![Image]()
Materials:
1.) 2 clear silicones tubes
2.) speaker wire
3.)black electrical tape or tubeing
4.)male and female conectors(optional)
5.) Hair dryer or Oven
6.)Butter knife or flat tip screw driver
7.)philips screw driver
8.) will need 2x80mm and 2x100m Angel eyes
*Assuming the headlamps are taking off the tiburon ( you may proceed to the following step to installing A/E on the 2003-2004 GK Tiburon. if you still havent taken them off and do not know how i have added a video to show you how to take the headlamps out.
http://www.newtiburon.com/forums/showthread.php?t=190951
Step 1) There are 2 ways you can open the head lamps. One is putting the headlamps in the oven at 150 degrees for 10-15min and the other one is useing a hair dryer/blower (or a industrial blower).The method I used my girlfiirend Hair blower/dryer to open up the headlamps.First i removed the light Bulbs and next thing i did was take the blower/dryer and heat up all the edges until it got really hot then i stuck a butter knife( a flat tip screw driver will work also) to pry the headlamps open.
Step 2.) once you have both headlamps opened you will see that there should be 2 screws holding the bezel to the lenses, with a philips screw driver unscrew them and they should come right off .Heres a good time to paint them if your wanting to( you dont have to paint if you dont want to).( i dont have a picture wherethe screws are but you can see them on the video that i posted)
Step 3.)I took the both 80mm and 100 mm Angel eyes and glued them on with clear silicone on the be the back of the chrome circles(i dont know what to call those lol)
Step 4.) Now heres where you conect the Angel eyes to the city lights. First spot out the city light bulb.(You will see the city light bulb thats located under the high beams ) and follow the it to the harness. It has one black wire(negative -) and one green wire(positive +). Now you will have to take the red wire from the angel eye and splice into the green wire(+) from the city light harness. Next take the black wire (-) from the Angel eyes and splice into the black wire(-) from the city light harness.Now If the wires are to short you may have to add some Speaker wire to make them longer in order to reach the city light harness.

( i had to add more wire in order to reach the city light harness so i used blue for positive and brown wire for negative)
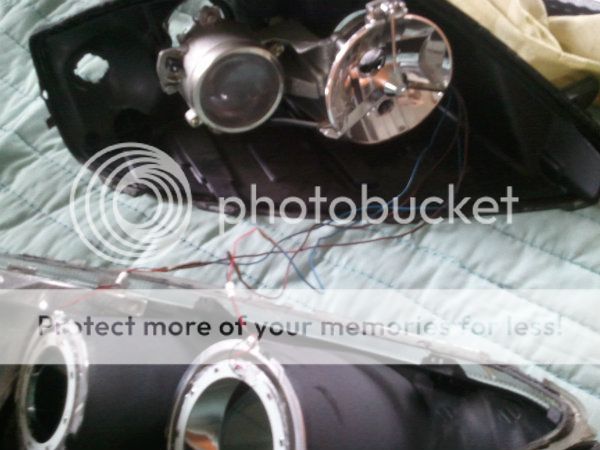
As you can see theres a total of 4 wires....Since i had to add more wire since the Angel eye wire where to short ,wich were blue and brown wires. Please dont get confused remember blue as (+) and brown as (-).......Okay so heres a final summary : you will see 2 blue that i used as positive(+) that i conected to the green city light wire and two brown i used as negative(-) that go connected to the black wired from the city lights
Step 5.) Take the bezels and put them back in place with the lenses and tighten the screws back on . After that Apply the clear silicone all over the edges of the headlamps and close the headlamps and apply force for about 10min.The reason why i said to apply force for about 10 min is so that you wont get any condensation in them,being that the headlamps have been closed properly( not leaving any gaps bettween the housing and the lense)
Step 6.) install the headlamps and your finished
...........You may now admire your work