

The other 5 speeds on other years may be the same....pictures here were from a 2007 gs model, I4 5spd. When I finished installing this, the shifting was much more precise....actually felt like my old firebird 5spd, lol
SFR STS FTW!!!!!!
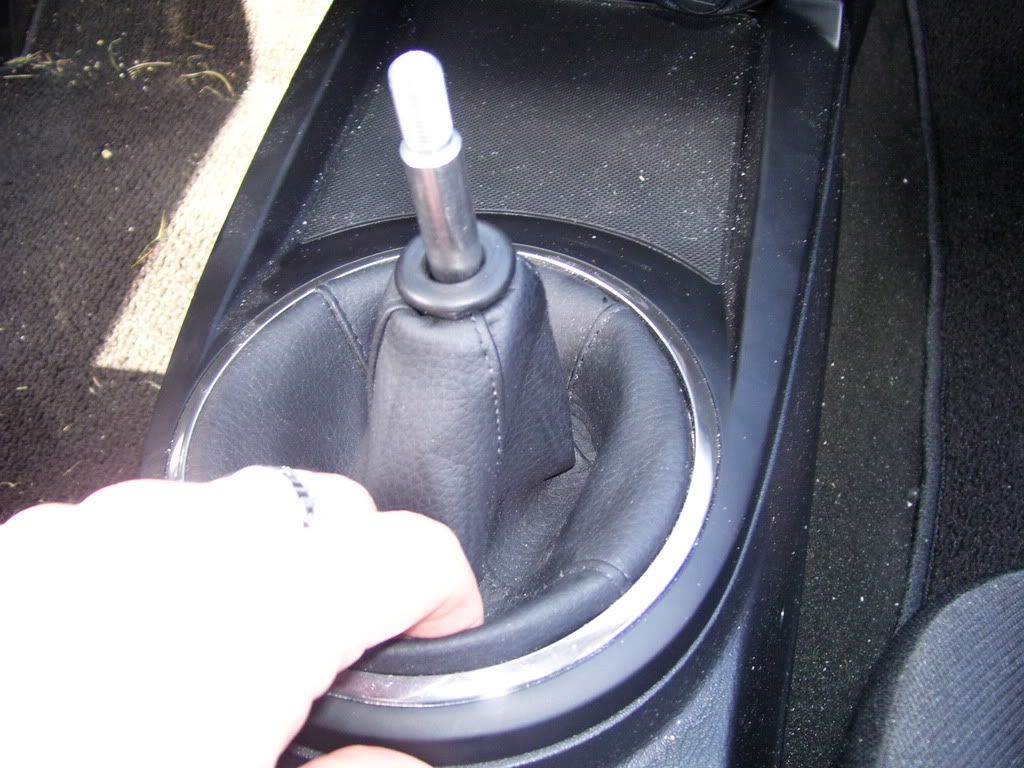
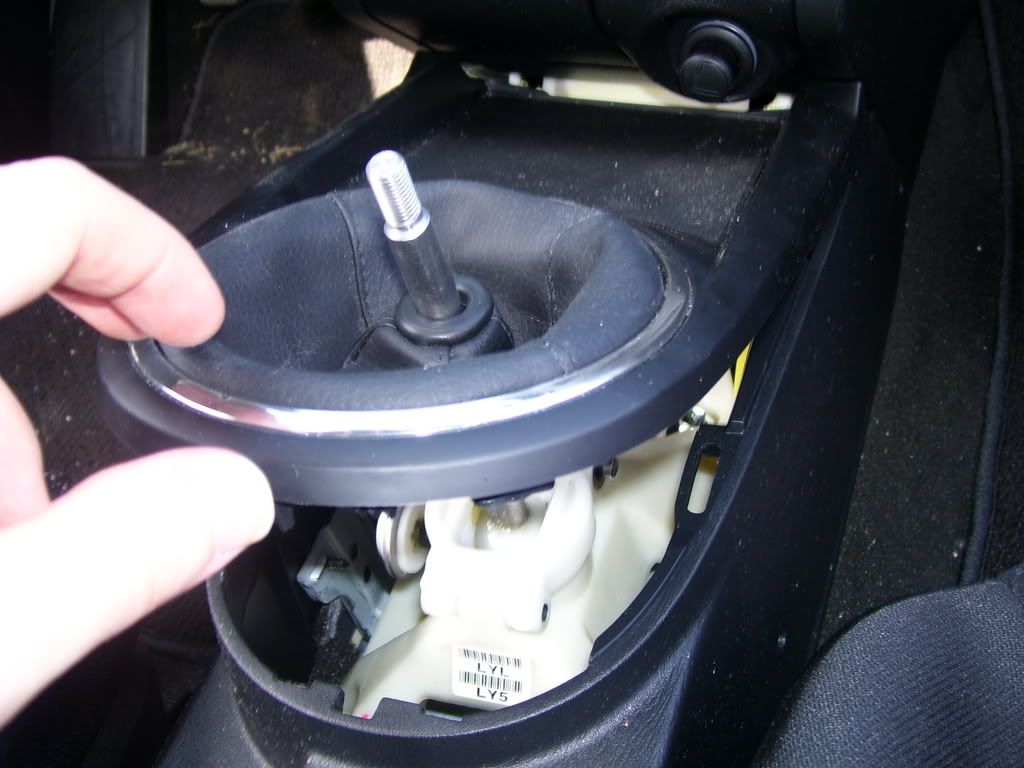
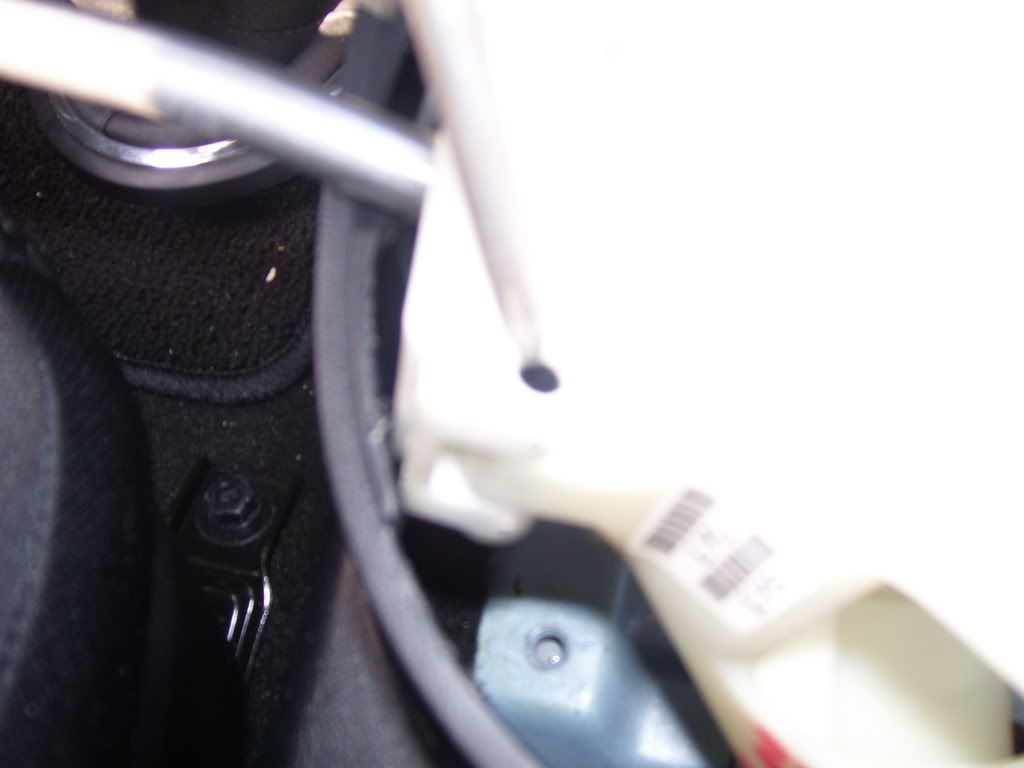
First: place finger under lip of mission plate, as shown.
![Image]()
![Image]()
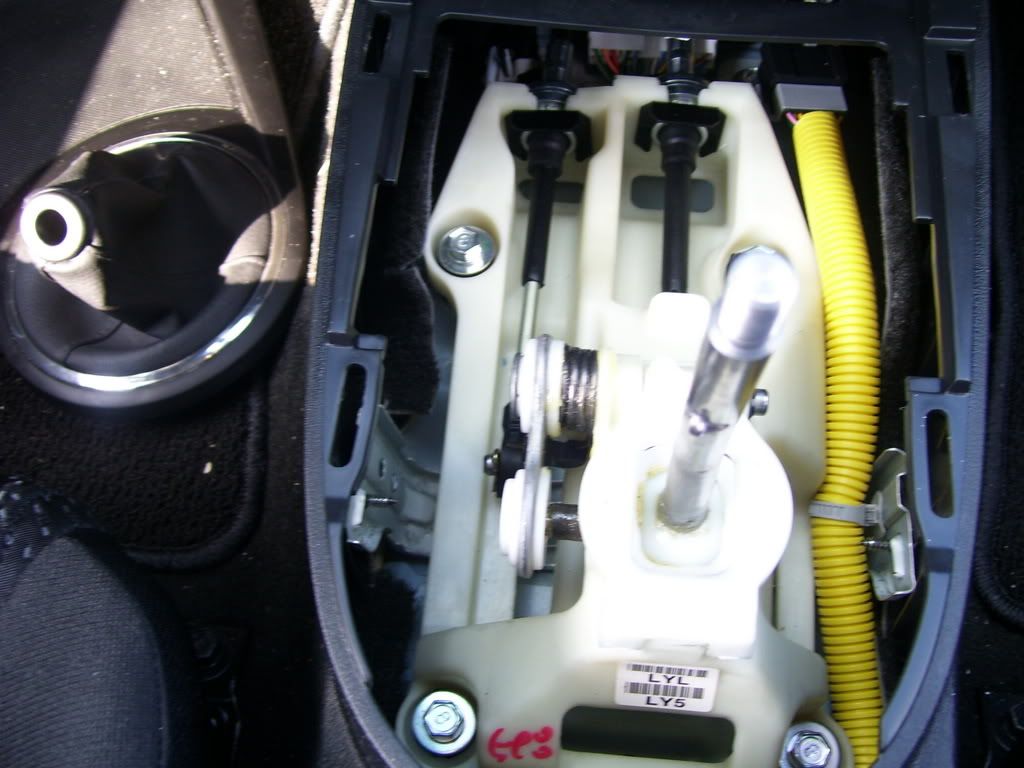
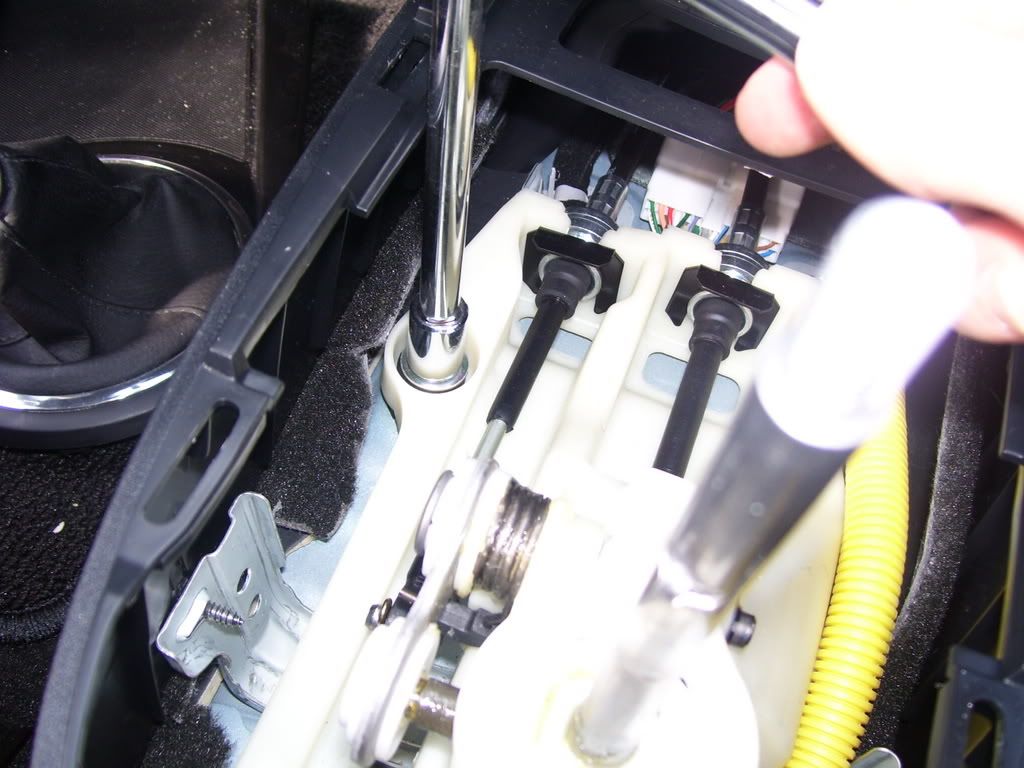
Next: Remove the 4 bolts at the 4 corners of the white assembly, shown here. Use a 12mm socket with an extender.
![Image]()
![Image]()
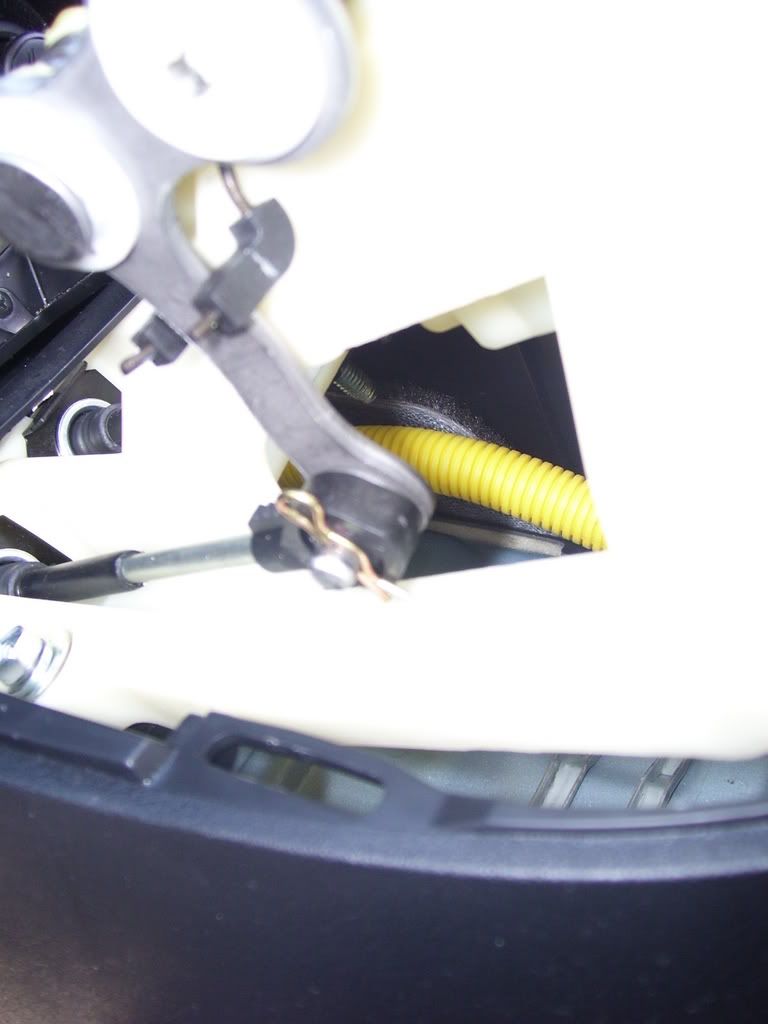
Then, ease the assembly out and remove this cotter pin.
![Image]()
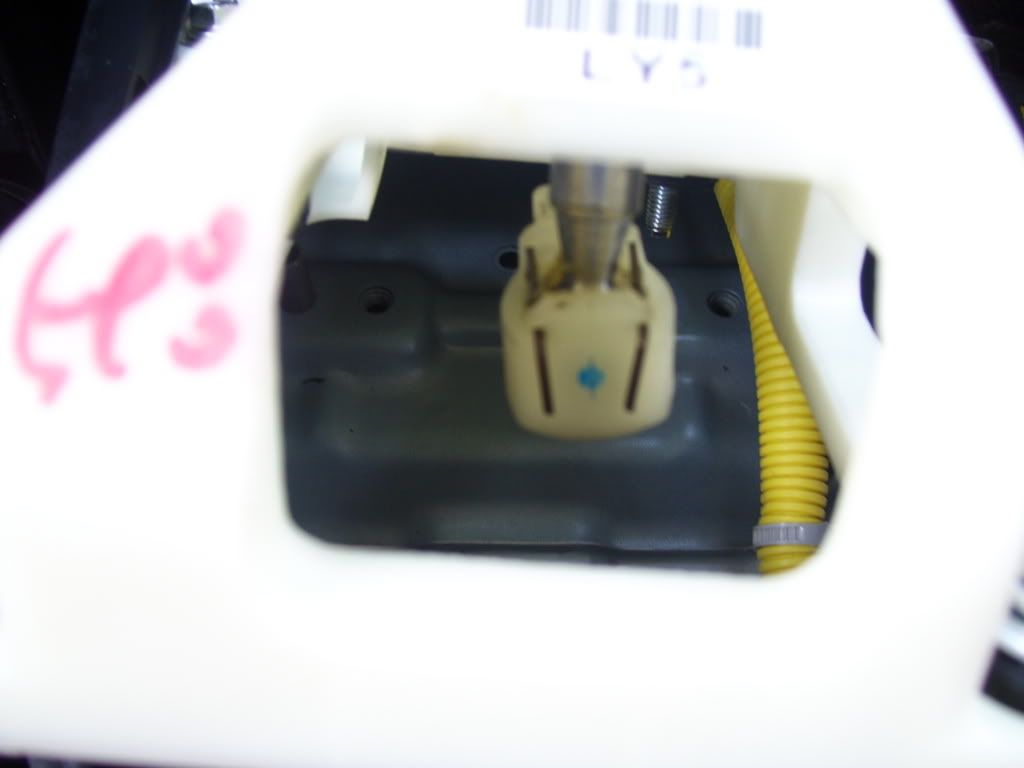
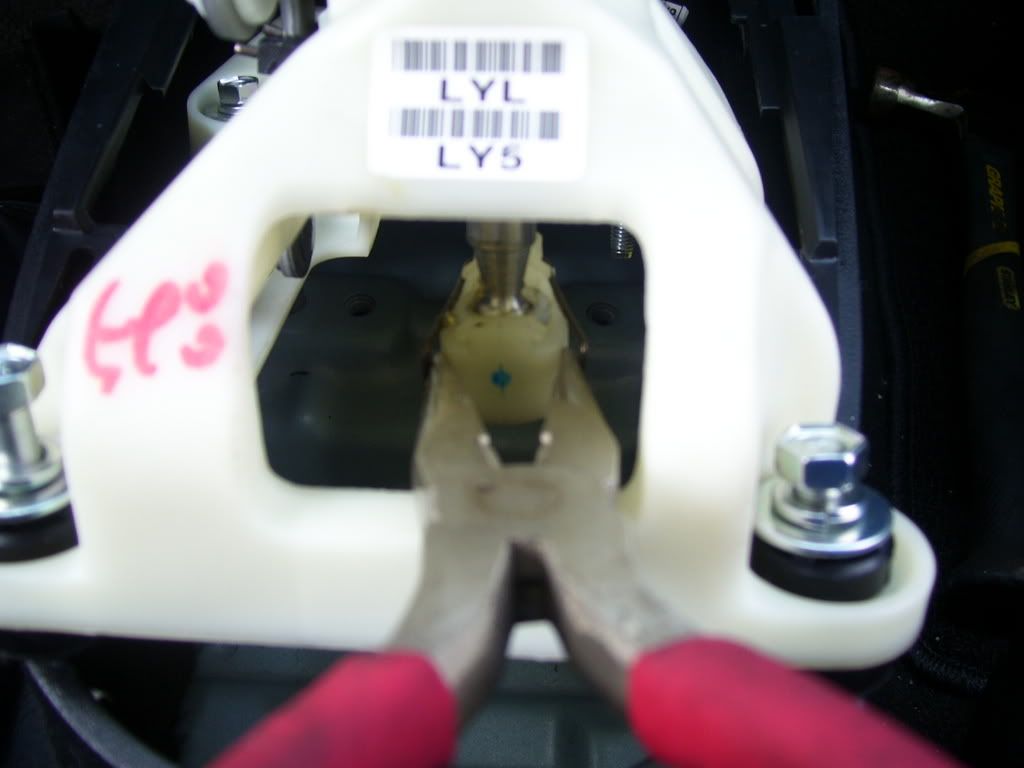
Now, look underneath the assembly at the bottom of the shifter. take pliers and pull apart the 2 metal pins, as shown. The piece should fall off of the shifter easily.
![Image]()
![Image]()
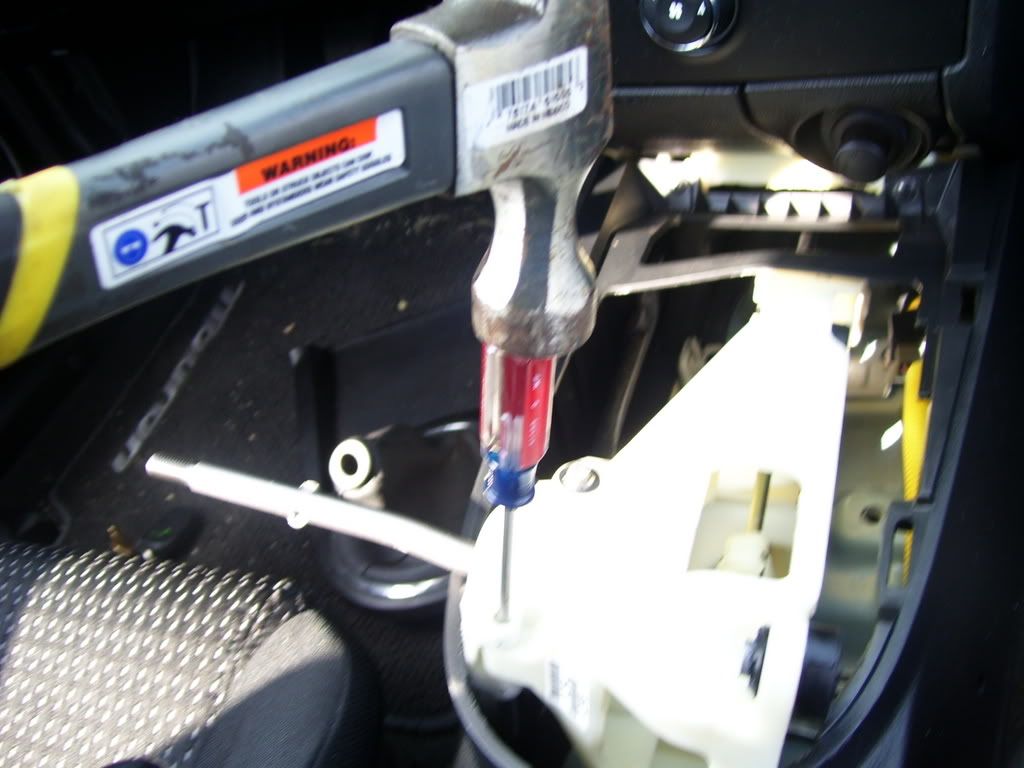
Then, take a small flat-head screwdriver and angle it against this hollow pin holding the back of the top assembly on, and lightly tap it with a hammer until it falls out the other end. IMPORTANT: DO NOT LOSE THIS!!!!!
I found it was easier to get it started through with a phillips head.
![Image]()
![Image]()
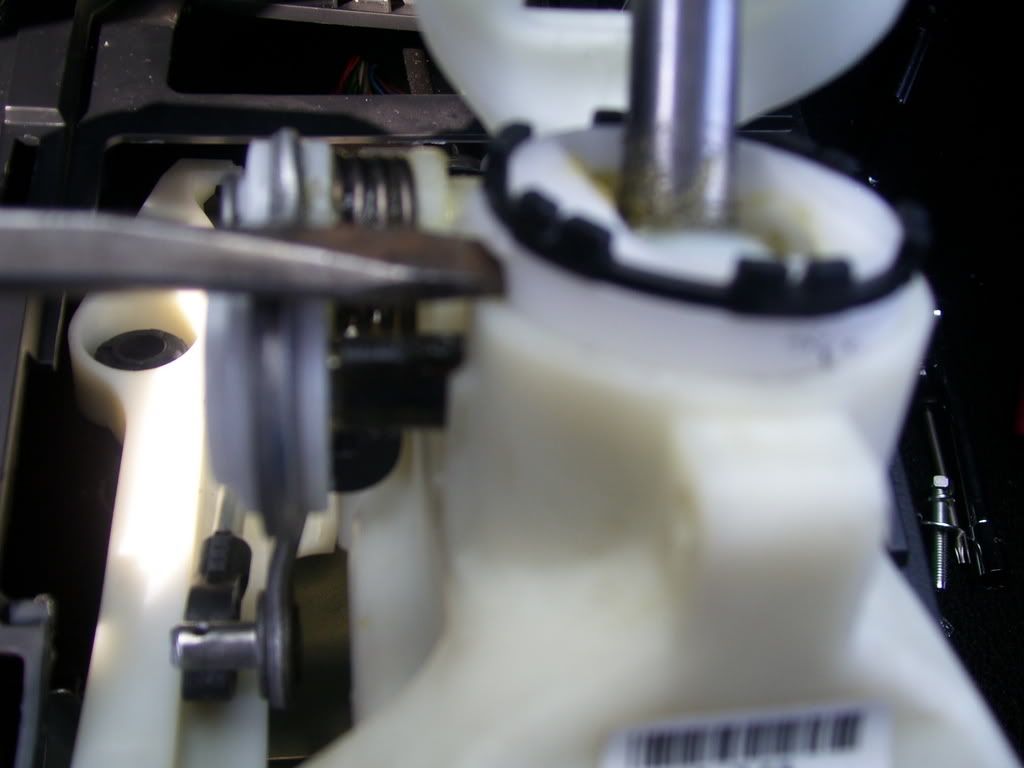
Now: pry off this pin. This was the difficult part, took me about 45 minutes playing with it to get it off. Once it's off, push the pin through.
![Image]()
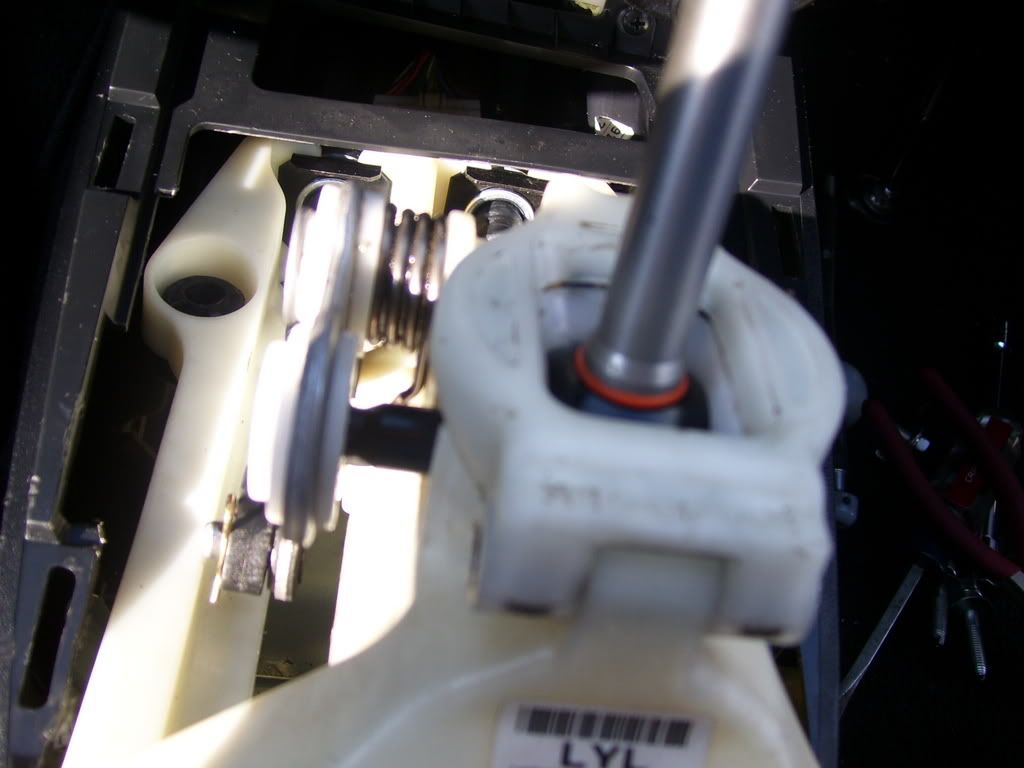
Now pull up on the plastic bushing holding the shifter down.
![Image]()
Install SeoulfulRacing's Short throw shifter.
Reverse removal (got tired of stopping to take pics, lol): put the spring on the left side, push the pin through and the little braket on the end. Goeson nice and easy, just put pliers around the side and tap it lightlhy with a hammer.
Put the bottom piece back on the bottom part of the shifter: keep the plastic piece with the grease in it that came with the shifter ON.
Theplastic piece on the left knob will need to be removed, it is too big for the hole in the 07model. Use the stock plastic piece, which is fixed and can't be removed.
Put cotter pin back on.
Screw the 4 bolts back into the bottom of the car.
![Image]()
Put the mission plate back on, just press on it and it clicks into place.
![Image]()
Screw on knob, put the sticky emblem on the top and you're all set!
This was my first DIY, let me know how helpful this was.
SFR STS FTW!!!!!!
First: place finger under lip of mission plate, as shown.
Next: Remove the 4 bolts at the 4 corners of the white assembly, shown here. Use a 12mm socket with an extender.
Then, ease the assembly out and remove this cotter pin.
Now, look underneath the assembly at the bottom of the shifter. take pliers and pull apart the 2 metal pins, as shown. The piece should fall off of the shifter easily.
Then, take a small flat-head screwdriver and angle it against this hollow pin holding the back of the top assembly on, and lightly tap it with a hammer until it falls out the other end. IMPORTANT: DO NOT LOSE THIS!!!!!
I found it was easier to get it started through with a phillips head.
Now: pry off this pin. This was the difficult part, took me about 45 minutes playing with it to get it off. Once it's off, push the pin through.

Now pull up on the plastic bushing holding the shifter down.
Install SeoulfulRacing's Short throw shifter.
Reverse removal (got tired of stopping to take pics, lol): put the spring on the left side, push the pin through and the little braket on the end. Goeson nice and easy, just put pliers around the side and tap it lightlhy with a hammer.
Put the bottom piece back on the bottom part of the shifter: keep the plastic piece with the grease in it that came with the shifter ON.
Theplastic piece on the left knob will need to be removed, it is too big for the hole in the 07model. Use the stock plastic piece, which is fixed and can't be removed.
Put cotter pin back on.
Screw the 4 bolts back into the bottom of the car.
Put the mission plate back on, just press on it and it clicks into place.
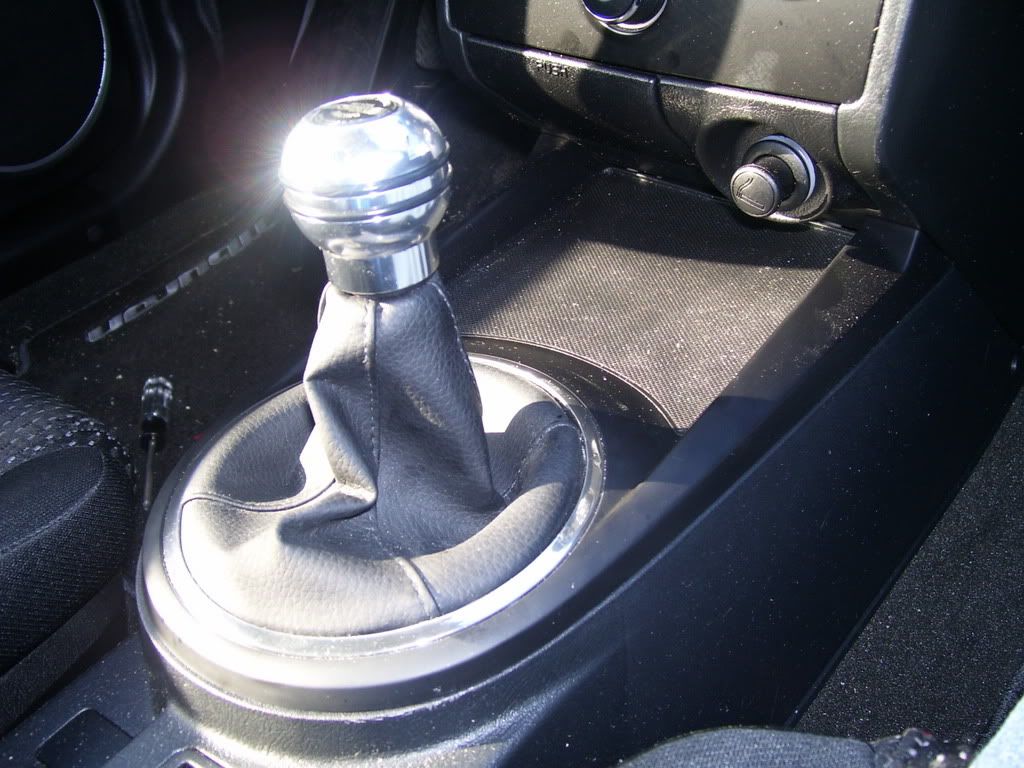
Screw on knob, put the sticky emblem on the top and you're all set!
This was my first DIY, let me know how helpful this was.
")


