Greetings, everyone!!
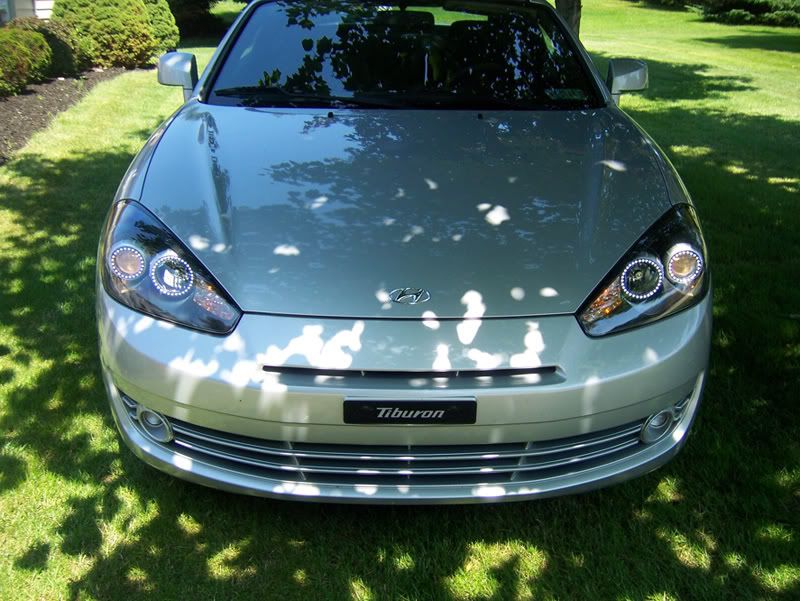
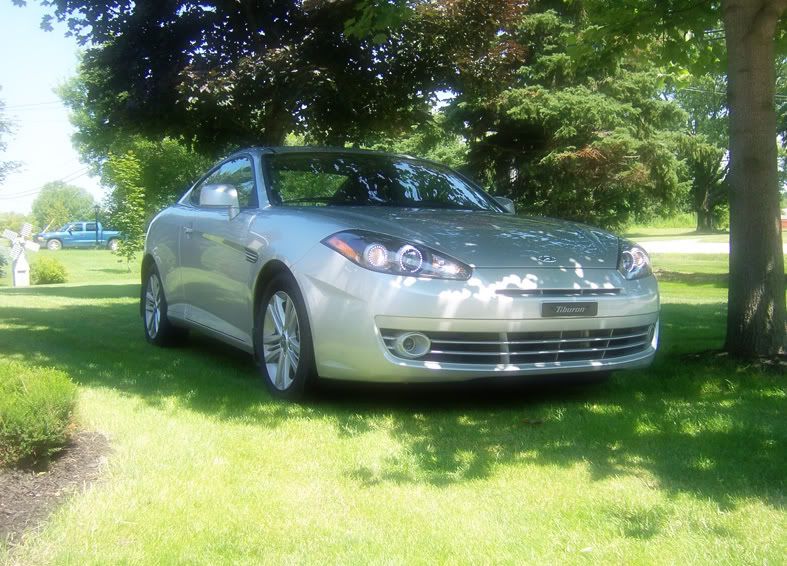
This DIY will show you how to install the SFR 7,000-K white LED angel eyes (AE's) to a '07-'08 FL2 Tiburon. The car in the following DIY is NOT my car--it is my girlfriend's 2007 Tiburon GT V6. After seeing the SFR angel eyes on my '04 Tiburon, she just had to have it for her car as well. :3_chubby:
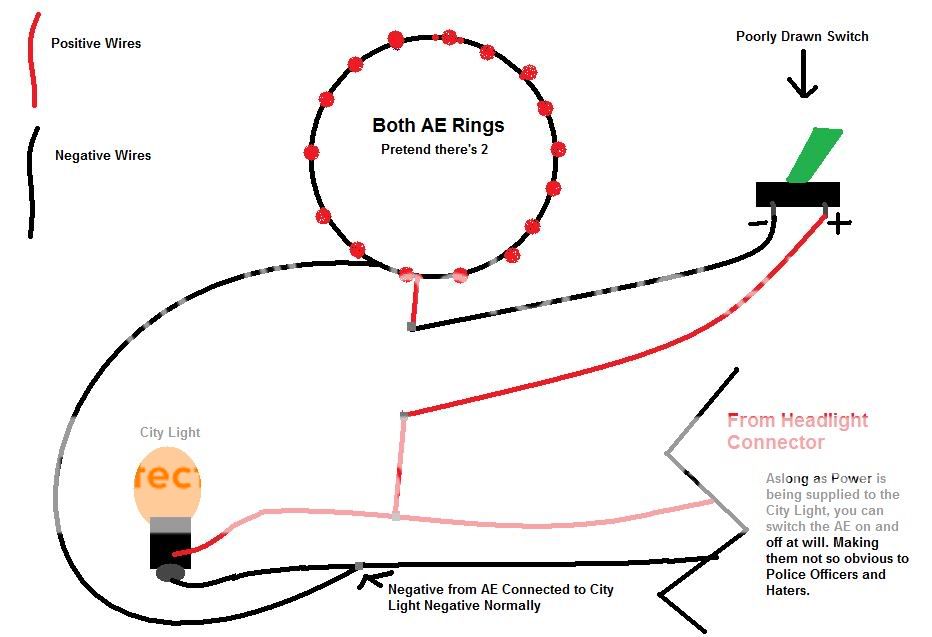
We completed the installation yesterday (3/27/08 Fri) and it took a LONG time since the positive and negative city light wires weren't clearly differentiated by different colors. Instead, both the positive and negative city light wires were gray in color. After some trial and error, however, we figured it out and now the AE's are lighting up.
Well, onto the DIY and pictures!! :3_pimatyo :3_winkthu
**Parts Used for this DIY**:
[1] 10-mm wrench (to disconnect the negative battery terminal wire)
[2] 10-mm socket and ratchet to remove the headlight bolts
[3] Screwdriver
[4] A strong glue. I used the Locktite Stik-n-Seal Ultra adhesive that has a shear resistance strength of ~750 psi. I bought the glue from a local Home Depot.
[5] 20-gauge stranded wire (red)
[6] 20-gauge stranded wire (black)
[7] Solder
[8] Soldering iron
[9] Soldering iron tip cleaner (optional)
[10] Heat-shrink wire wrap
[11] 22 to 18-gauge inline splicers
[12] Black silicone
**DIY Steps**
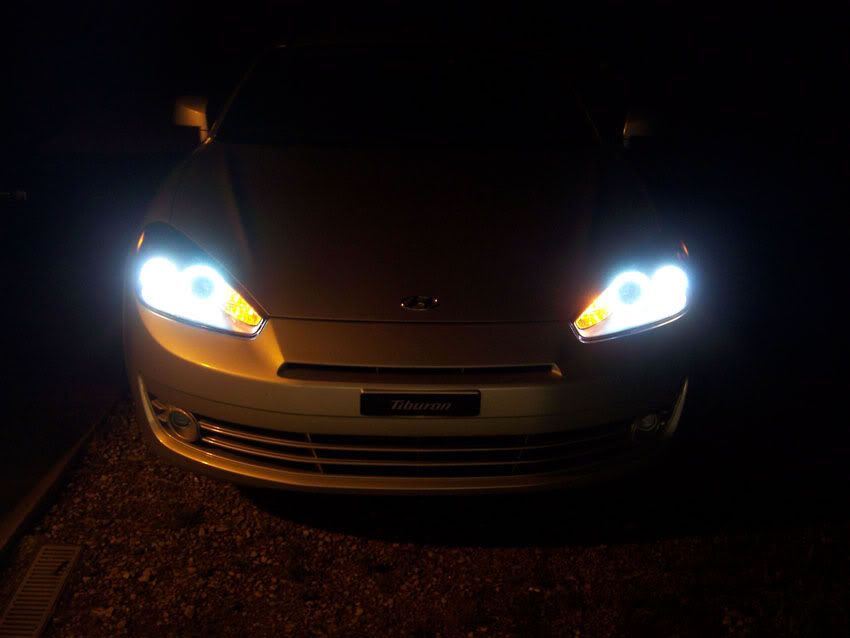
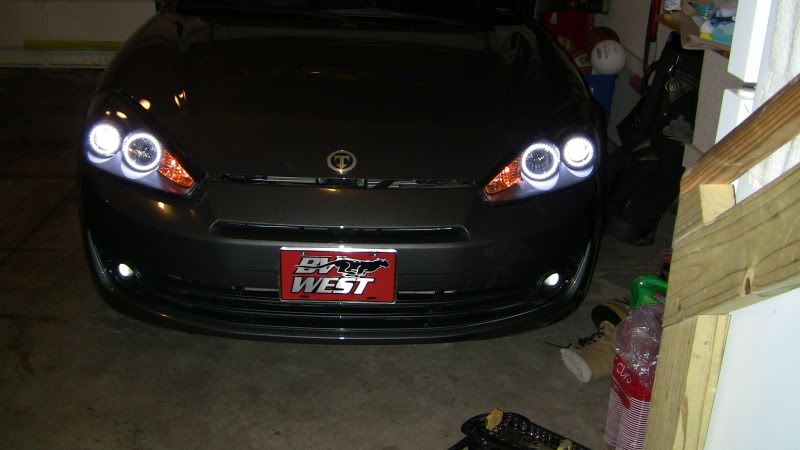
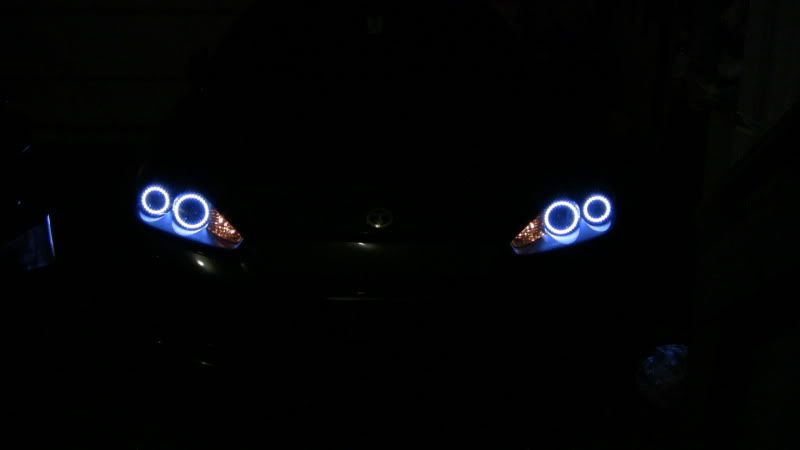
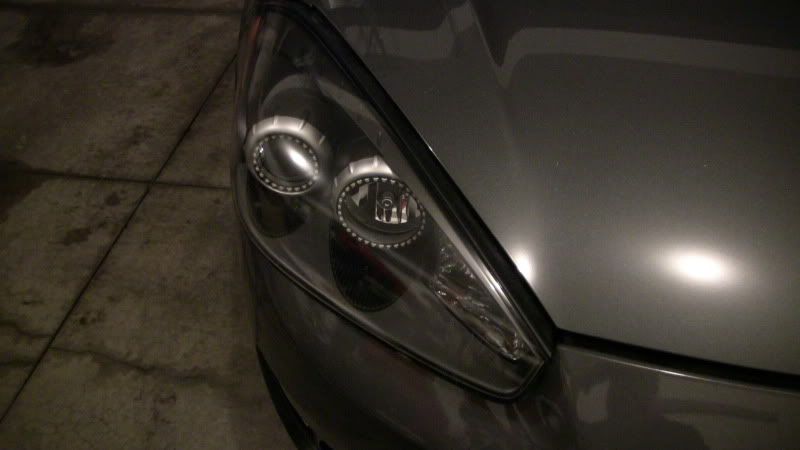
[1] First thing you want to do is check to see if your SFR angel eyes work before you install them to your headlights. Here is what the angel eyes look like.
![Image]()
![Image]()
![Image]()
To test whether or not the angel eyes are working, I connected the blue positive wire from the angel eye to the positive terminal of a 9V battery and connected the black negative wire from the angel eye to the negative terminal of a 9V battery.
Here is a picture of me testing out the low-beam AE:
![Image]()
Testing out the high-beam AE:
![Image]()
[2] Now that I know the AE's work, it's time to disconnect the negative battery terminal from your car.
![Image]()
![Image]()
[3] Take off the plastic piece located between the headlights then take off the headlights after pulling out their power connectors and unscrewing the bolts.
![Image]()
![Image]()
![Image]()
![Image]()
![Image]()
[4] With the headlights out of the car, take out all the headlight bulbs--H7 high-beam, H11 low-beam, turn-signal bulb, and the 194 city light bulb.
![Image]()
![Image]()
![Image]()
[5] Now, it is time to put each headlight into the oven!! :3_chubby: Before placing the headlight into the oven, remove two screws from behind the headlight unit. One of the screws is readily visible and is located near the tip of the headlight. The other screw, however, is partially hidden inside a recessed area. If you do not take out these two screws before you try to pull the headlight apart into two, you'll either not be able to open up your headlights or you'll crack the black bezel. Trust me, I found this out the hard way~~lol, pre-heat your oven at 200 degrees Farenheit for ~10 minutes. Also, place some aluminum foil on top of the oven rack so the headlights won't melt on it. Once the oven prep work is complete, place one headlight into the oven for 10 minutes at 200 degrees F.
![Image]()
This DIY will show you how to install the SFR 7,000-K white LED angel eyes (AE's) to a '07-'08 FL2 Tiburon. The car in the following DIY is NOT my car--it is my girlfriend's 2007 Tiburon GT V6. After seeing the SFR angel eyes on my '04 Tiburon, she just had to have it for her car as well. :3_chubby:
We completed the installation yesterday (3/27/08 Fri) and it took a LONG time since the positive and negative city light wires weren't clearly differentiated by different colors. Instead, both the positive and negative city light wires were gray in color. After some trial and error, however, we figured it out and now the AE's are lighting up.
Well, onto the DIY and pictures!! :3_pimatyo :3_winkthu
**Parts Used for this DIY**:
[1] 10-mm wrench (to disconnect the negative battery terminal wire)
[2] 10-mm socket and ratchet to remove the headlight bolts
[3] Screwdriver
[4] A strong glue. I used the Locktite Stik-n-Seal Ultra adhesive that has a shear resistance strength of ~750 psi. I bought the glue from a local Home Depot.
[5] 20-gauge stranded wire (red)
[6] 20-gauge stranded wire (black)
[7] Solder
[8] Soldering iron
[9] Soldering iron tip cleaner (optional)
[10] Heat-shrink wire wrap
[11] 22 to 18-gauge inline splicers
[12] Black silicone
**DIY Steps**
[1] First thing you want to do is check to see if your SFR angel eyes work before you install them to your headlights. Here is what the angel eyes look like.


To test whether or not the angel eyes are working, I connected the blue positive wire from the angel eye to the positive terminal of a 9V battery and connected the black negative wire from the angel eye to the negative terminal of a 9V battery.
Here is a picture of me testing out the low-beam AE:

Testing out the high-beam AE:

[2] Now that I know the AE's work, it's time to disconnect the negative battery terminal from your car.


[3] Take off the plastic piece located between the headlights then take off the headlights after pulling out their power connectors and unscrewing the bolts.


[4] With the headlights out of the car, take out all the headlight bulbs--H7 high-beam, H11 low-beam, turn-signal bulb, and the 194 city light bulb.


[5] Now, it is time to put each headlight into the oven!! :3_chubby: Before placing the headlight into the oven, remove two screws from behind the headlight unit. One of the screws is readily visible and is located near the tip of the headlight. The other screw, however, is partially hidden inside a recessed area. If you do not take out these two screws before you try to pull the headlight apart into two, you'll either not be able to open up your headlights or you'll crack the black bezel. Trust me, I found this out the hard way~~lol, pre-heat your oven at 200 degrees Farenheit for ~10 minutes. Also, place some aluminum foil on top of the oven rack so the headlights won't melt on it. Once the oven prep work is complete, place one headlight into the oven for 10 minutes at 200 degrees F.